

Snowflake has been adding great support for Extensibility and Apps. For example, we can build powerful applications using Streamlit directly within Snowflake, which requires the necessary scripts to be stored in Snowflake stages. These stages serve as the repository for your application scripts, but manually updating these scripts through the Snowflake UI or SnowCLI can be a cumbersome and inefficient process. This blog will explore how automating these updates can streamline your development workflow and save valuable time
In this blog, we’ll guide you through setting up your Azure DevOps repository and creating an automated pipeline that ensures newly committed files are seamlessly updated to your Snowflake stage
Follow these steps to automate the process of updating your Snowflake stage with the latest committed files
Setup your repository on azure devops
1- Open the repo’s page of your organization at https://dev.azure.com/OrganizationName and select your project you want to create a repository in
2- From the repo drop down , select new repository

3-Select your repo details and click Create

Developing a Python Script to Automate File Updates to Your Snowflake Stage
We will create a Python script that automatically runs with each new commit in the repository, efficiently updating all files in the specified Snowflake stage
For this we’ll be using snowflake connector
import os
import snowflake.connector


def upload_files_to_snowflake(files_to_upload, stage_name):
    conn = snowflake.connector.connect(
        user="username",
        password="password",
        account="account-identifier",
        warehouse="warehouse",
        database="database",
        role="account-role",
        schema="schema"
    )

    cursor = conn.cursor()
    # Loop through each file in the local directory and upload it
    for file in files_to_upload:
        # file_path = os.path.join(os.getcwd(), file)
        put_command = f"PUT file://{file} @{stage_name} AUTO_COMPRESS=FALSE OVERWRITE=TRUE;"
        cursor.execute(put_command)

    cursor.close()
    conn.close()


if __name__ == '__main__':
    files_to_upload = ['Dockerfile', 'app.py', 'requirements.txt']
    stage_name = ‘Stage_name’
    upload_files_to_snowflake(files_to_upload, stage_name)
Here in this code inside the files_to_upload array add all the files you’d like to upload in the snowflake stage or select the whole directory if you’d like to upload it into the snowflake stage
In the stage_name , provide the stage name you’d like to upload your files into.
Building an Azure Pipeline to Trigger the Python Script on Each New Commit
1.Go to azure devops and look for pipelines option below the repository and select that.

2. Select new pipeline

3. Select your codespace location , here in this example we created our repository in azure repo’s so we’ll select that

4. Then select a pipeline configuration on how you would like to create a pipeline , we can choose a starter pipeline and modify if later

5. Now we can start writing our pipeline script in azure-pipelines.yml
# Starter pipeline
# Start with a minimal pipeline that you can customize to build and deploy your code.
# Add steps that build, run tests, deploy, and more:
# https://aka.ms/yaml


trigger:
- main


pool:
  vmImage: ubuntu-latest


steps:
- script: echo Hello, world!
  displayName: 'Run a one-line script'


- script: |
    echo Add other tasks to build, test, and deploy your project.
    echo See https://aka.ms/yaml
  displayName: 'Run a multi-line script'


- task: UsePythonVersion@0
  inputs:
    versionSpec: '3.10'
    addToPath: true
  displayName: 'Set up Python'


- script: |
    python -m pip install --upgrade pip
    pip install -r requirements.txt
    pip install snowflake-connector-python
  displayName: 'Install dependencies'


- script: |
    python upload_snowflake.py
  displayName: 'Upload files to Snowflake'
In the initial part of the pipeline script, we’ll focus on installing all necessary dependencies. The subsequent part will handle the file upload to Snowflake by executing the Python script we created earlier.
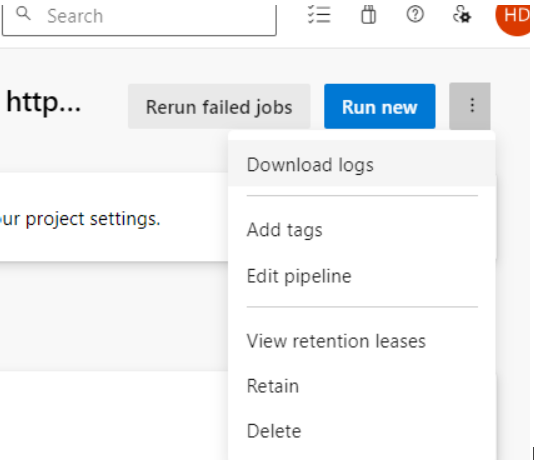
You can also look for logs your pipeline had

You can rerun or download log’s for the pipeline run
This blog post provides a guide on automating the update of files in a Snowflake stage using an Azure DevOps CI/CD pipeline. The process begins by setting up a repository in Azure DevOps, followed by creating a Python script that uploads files to a Snowflake stage whenever a new commit is made to the repository. The blog also walks through setting up an Azure DevOps pipeline that triggers the Python script, ensuring that the Snowflake stage is updated automatically with each new code commit. This automation replaces the manual process of updating files through Snowflake's UI or CLI, making the workflow more efficient and less time-consuming.
Comments